Jeedom offers many possibilities to order your house. One of the most practical is undoubtedly the voice control. In fact, Jeedom is compatible with Amazon Alexa, Siri, and Google Assistant voice assistants. The latter having been adopted by the whole family (close to one Google Assistant per room), it was logical to be able to control the house through this same assistant. Setting up with Jeedom is very simple. I propose you to discover it in more detail…
I. Prerequisites for using Jeedom with Google Assistant
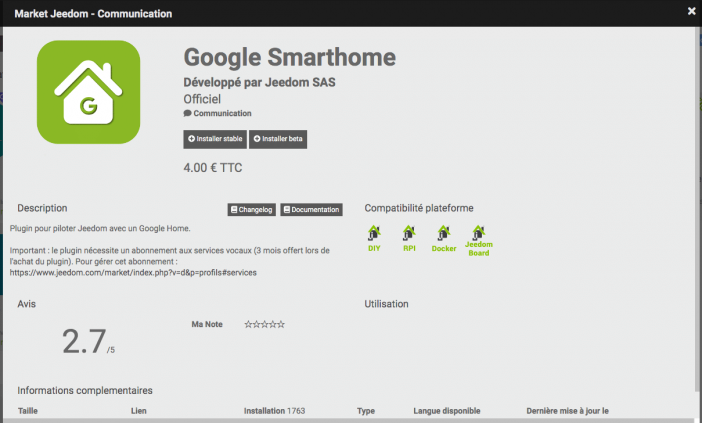
To be able to function, this time you'll have to get your hands on the purse. Don't worry, nothing exorbitant: you'll first have to buy the Google Smarthome plugin for 4€, then install it on your Jeedom. This plugin will allow you to configure the equipment to be used with the voice wizard.
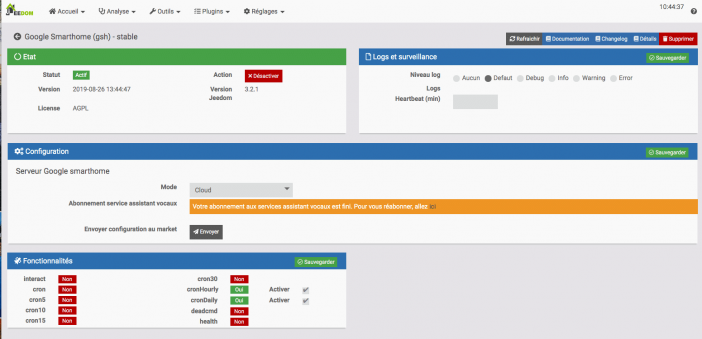
On the general configuration page, select “Cloud”. A Standalone mode exists, but will remain reserved for advanced users.
By selecting the Cloud mode, you are informed that this mode requires a subscription.
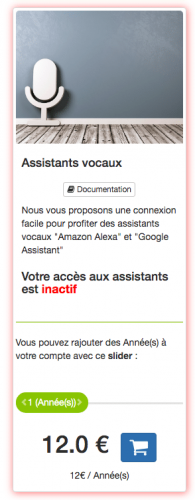
A subscription to be taken out on the Market Jeedom, which will cost 12€ per year. This cost is simple to explain: Jeedom being an autonomous home automation solution, it does not rely on the Cloud, which is a big advantage. However, voice assistants need a Cloud gateway to communicate with the equipment. The company Jeedom has therefore implemented a Cloud architecture to meet only the constraints of voice assistants. And of course, such an architecture has a cost.
The Standalone mode allows to get rid of this subscription, but for having tried it, I sincerely prefer to pay these 12 euros and take advantage of a solution very simple to set up, but also to use.
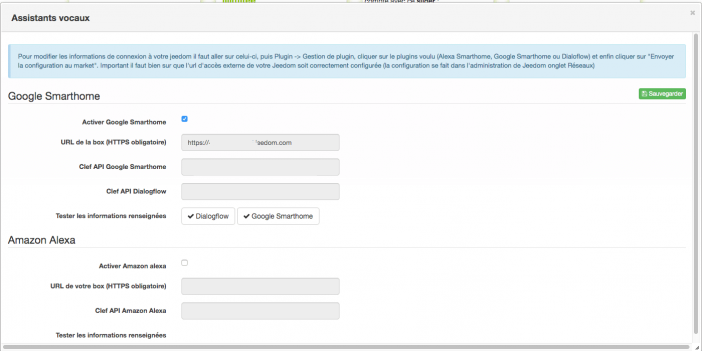
Once the service is subscribed, on the plugin configuration, you will have to click on “Send”, which will send the necessary connection information to the service. On the market, in the voice wizard service, you will then be able to activate the Google or Amazon wizard, or both, depending on what you want. The url of your Jeedom box (the use of Jeedom secure DNS makes this much easier), and the Google Smarthome API key, should be automatically completed.
Save the configuration.
II. Jeedom equipment configuration
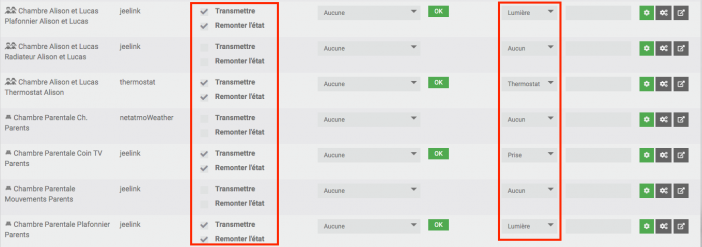
The next step is to configure the equipment to be controlled via the voice wizard. To do this, go to the menu Plugins / Communication / Google SmartHome. The list of all the equipment available on your Jeedom appears.
In the first column framed in red, you will have to check “Transmit” if you want to be able to use the device with the Google assistant. If you want information to be transmitted as well (temperature, etc.), you will have to tick “Upload status”.
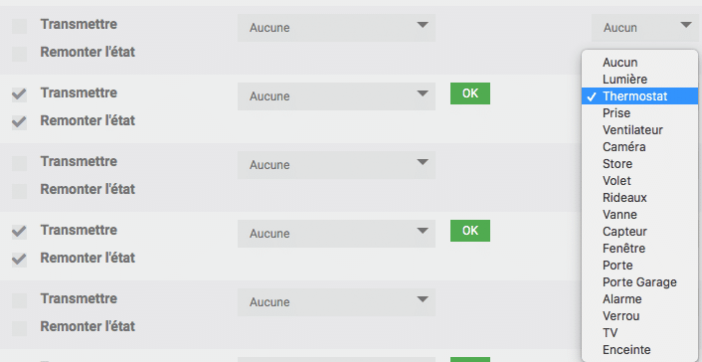
In the second column in red, you must indicate the type of device in question: light, socket, shutter, etc. The choice is very important, because it is thanks to it that the Google assistant will be able to interpret the corresponding voice commands.
Once we have defined all the devices to be found in the voice wizard, we save the configuration.
Careful, now: The plugin does not support equipment with dual functions (2 outputs for example like some zwave Fibaro modules). It is absolutely necessary to go through 2 virtual ones to decompose it.
Note that the “Challenge” column allows you to set up a code. For example, if you have a command to disable an alarm, it may be more prudent to ask for a code so that you don't let anyone else do it by voice. When you ask to enable or disable this device, Google will therefore ask you for a voice code to validate.
III. Setup of Jeedom in Google Home
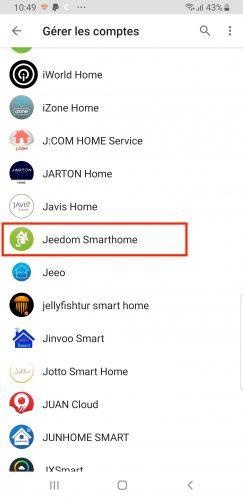
Now you have to go to the Google Home application on your smartphone or tablet. You are asked to add a new connected object. In the list, we find “Jeedom Smarthome”.
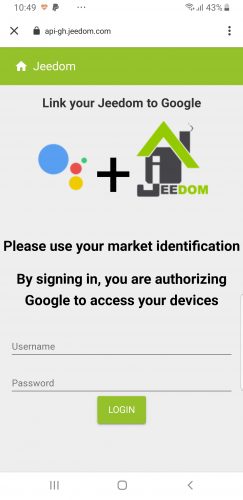
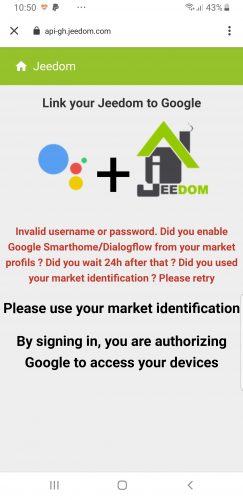
One then informs his identifiers of the market jeedom account:
At the moment, you have to wait 24 hours between the activation of the service on Jeedom, and the addition on its Google Assistant. This delay should be reduced thanks to the improvements regularly made by Jeedom. But if you have this type of message and your login is good, the problem may come from this delay.
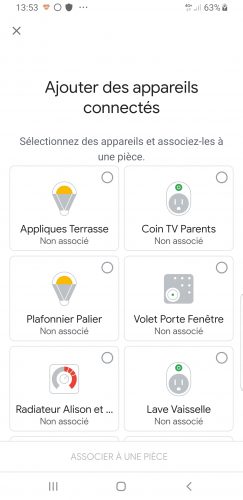
Once Jeedom is added to Google Home, all of our equipment configured above in Jeedom with the “Transmit” option will be displayed:
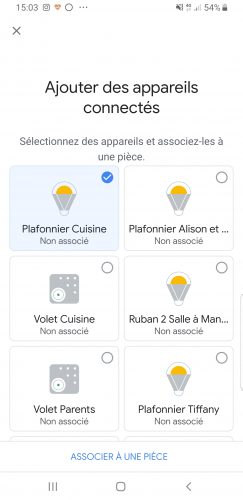
All you have to do now is select them one by one:
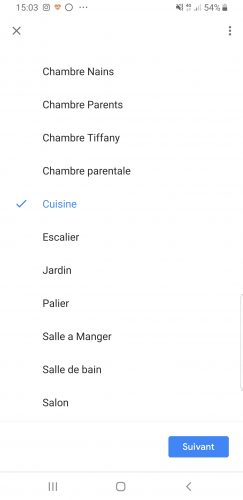
Then assign them to the rooms created in Google Home, because the system is not able to take over the rooms created in Jeedom:
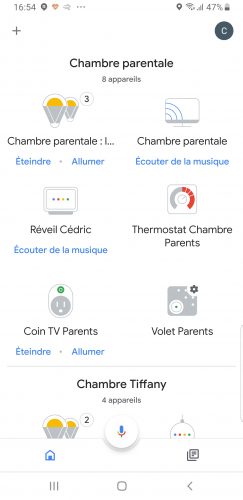
It's a little tedious if you have a lot of equipment. Luckily, you only have to do it once. Once it's done, we find all our equipment in the Google Home rooms. Here, for example, in the parents' bedroom, we have both peripherals from Jeedom, Philips Hue lighting, Chromecast, etc.
The advantage is that the wizard doesn't care where the peripherals come from; what matters is that he knows what type of device it is: lamp, plug, etc. So, when I ask Google to turn off all the lights, it will turn off the Zwave-controlled lights in Jeedom, as well as Philips Hue light bulbs, or Xiaomi ceiling lights. You can find all the Google Assistant commands here.
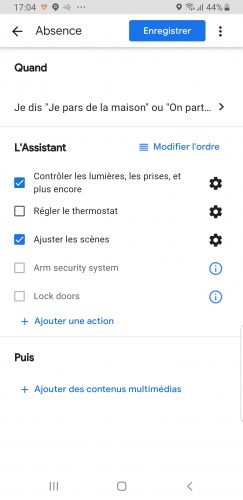
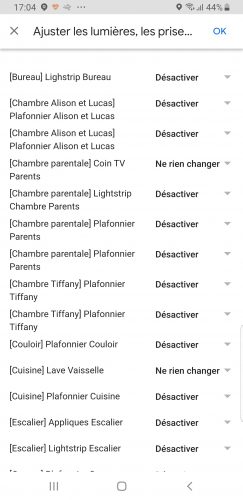
Note that it is also possible to create scenes in Jeedom to drive them by voice, with a command “Enable #scenario name#” or “Disable #scenario name#. Personally, I prefer to use the routines integrated to Google, which are more than enough for me. For example in the routine “I'm leaving”, I turn off different devices, whether they come from Jeedom or not:
IV. Conclusion
As we have seen, controlling your Jeedom home automation by voice with Google Assistant is extremely simple! You just need to know the procedure, but it is very easy. Just for that alone, the 12€ are well worth the expense.
But above all, the WAF goal is totally fulfilled: no need to tell Google to talk to Jeedom to drive this equipment, the peripherals from Jeedom are natively recognized by the wizard. Knowing that it's a lamp, a thermostat, a shutter, etc., the Google Wizard knows exactly how to drive them and which commands it has to respond to. A simple “Ok Google, turn on the living room light”, or “Ok Google, close the shutters”, and it's done. It couldn't be simpler!



Merci de rester courtois: un bonjour et un merci ne coutent rien ! Nous sommes là pour échanger de façon constructive. Les trolls seront supprimés.